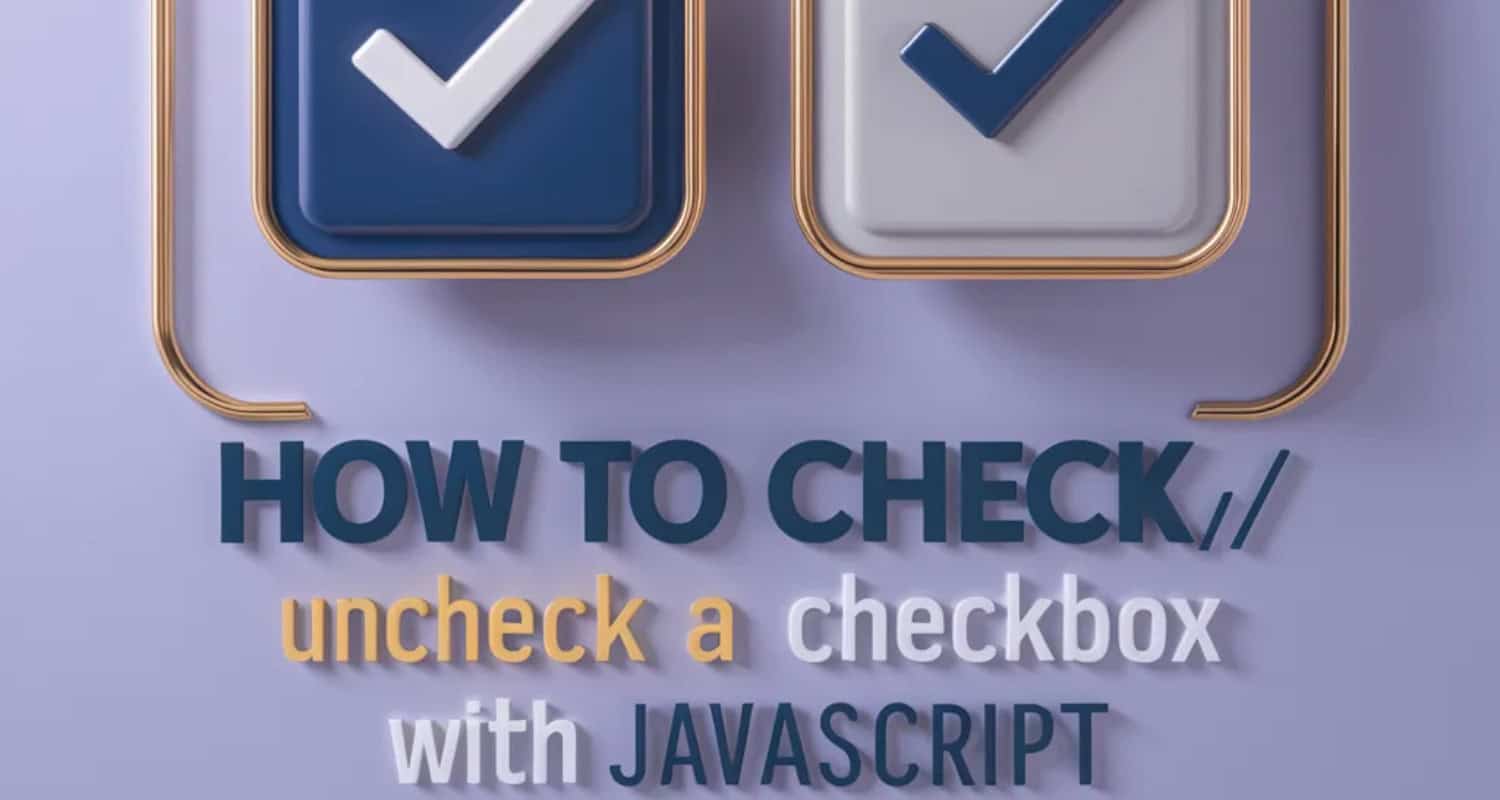
If you’ve been thinking about injecting some interactivity into your webpage, consider the versatility of JavaScript. One powerful way to do that is using JavaScript to check or uncheck checkboxes dynamically. For that, it is important to know how to Check/Uncheck a Checkbox with JavaScript. Furthermore, Javascript provides a simple solution, whether you want to create a form with preselected options or allow users to toggle checkboxes with a single click.
To check/uncheck all checkboxes with JavaScript, create a function that sets the checked property to true for all checkboxes when a “Check All” button is clicked. Use a “Reset” button to undo the selections and uncheck all checkboxes.
This allows us to preselect options or update checkbox selections dynamically using code. There are two main approaches to checking and unchecking checkboxes with JavaScript. Let’s look at how to check/uncheck a checkbox with Javascript.
See Also: How To Convert JavaScript To TypeScript? Step-By-Step Guide
Table of Contents
How to Check/Uncheck a Checkbox with JavaScript? Full Guide
In this guide, let us start by checking and unchecking checkboxes using JavaScript, which will enable you to enhance the user experience on your website.
Method 1: Use the onclick Event to toggle the checkbox state
Let us see how one can check the Checkbox with Javascript and uncheck it: 
1. Create an HTML checkbox element with an id attribute. For example:
<input type=”checkbox” id=”myCheckbox”>
2. In your JavaScript code, access the checkbox element using its id attribute:
var checkbox = document.getElementById(“myCheckbox”);
3. Add an onclick event listener to the checkbox element. This event will trigger when the checkbox is clicked:
checkbox.onclick = function() {
// Code to toggle the checkbox state
};
4. Inside the event listener function, you can use the checked property of the checkbox element to check its current state
checkbox.onclick = function() {
if (checkbox.checked) {
// Checkbox is currently checked
// Code to uncheck the checkbox
} else {
// Checkbox is currently unchecked
// Code to check the checkbox
}
};
5. To check or uncheck the checkbox, you can modify the checked property of the checkbox element. Set it to true to check the checkbox and false to uncheck it:
checkbox.onclick = function() {
if (checkbox.checked) {
// Checkbox is currently checked
checkbox.checked = false; // Uncheck the checkbox
} else {
// Checkbox is currently unchecked
checkbox.checked = true; // Check the checkbox
}
};
That’s how to uncheck/ check a checkbox with Javascript. When you click on the checkbox, the on-click event triggers and the checkbox state toggles accordingly.
See Also: How To Enable JavaScript On IPad, IPhone IOS(Apple Safari)
Method 2: Use window.addEventListener and window.onload Functions
In this method, we utilize the window.addEventListener and window.onload functions to add an event listener to the checkbox element and execute a function when the window has finished loading.
Let’s consider an HTML example to illustrate this method:
<!DOCTYPE html>
<html>
<head>
<title>Checkbox Example</title>
</head>
<body>
<label for=”myCheckbox”>Check/Uncheck:</label>
<input type=”checkbox” id=”myCheckbox”>
<script>
// Function to handle checkbox state change
function handleCheckboxChange() {
var checkbox = document.getElementById(“myCheckbox”);
if (checkbox.checked) {
console.log(“Checkbox is checked”);
// Perform actions when checkbox is checked
} else {
console.log(“Checkbox is unchecked”);
// Perform actions when checkbox is unchecked
}
}
// Add event listener to the checkbox
window.addEventListener(“load”, function() {
var checkbox = document.getElementById(“myCheckbox”);
checkbox.addEventListener(“change”, handleCheckboxChange);
});
</script>
</body>
</html>
Handling Checkbox State Changes in JavaScript
In this example, we have an HTML checkbox element with the id “myCheckbox”. We define a JavaScript function called handleCheckboxChange, which checks the state of the checkbox and performs actions accordingly.
Using the window.addEventListener function, we wait for the window to finish loading by listening for the “load” event. When this event occurs, we add another event listener to the checkbox element using the checkbox.addEventListener function. We listen for the “change” event, which fires whenever the checkbox state changes (i.e., when it is checked or unchecked). The handleCheckboxChange function is then on for execution.
Inside the handleCheckboxChange function, we retrieve the checkbox element using its id and check its check property. If the checkbox is checked, we perform the desired actions (in this case, logging a message to the console). If the checkbox is uncheck, we perform different actions.
By using window.addEventListener and window.onload, we ensure that the event listener is added only after the window has finished loading, guaranteeing that the checkbox element is available in the DOM.
That’s it on how to uncheck checkbox with Javascript and check it! With this method, you can check/uncheck a checkbox and perform actions based on its state using JavaScript.
JavaScript vs jQuery
JavaScript and jQuery are two popular web development tools. Let’s explain the difference between them in simple language.
JavaScript is a programming language that allows you to create dynamic and interactive web pages. All modern web browsers support it and are the web’s core language. With JavaScript, you can manipulate HTML elements, handle events, and perform various operations on web pages.
On the other hand, jQuery is a library built on top of JavaScript. It simplifies the process of writing JavaScript code by providing pre-built functions and methods. jQuery makes it easier to select and manipulate HTML elements, handle events, and perform animations on web pages.
Difference between the attr() and prop() methods in jQuery
Now, let’s discuss the difference between the attr() and prop() methods in jQuery, which are use to manipulate attributes and properties of HTML elements.
We use the attr() method in jQuery to get or set the value of an HTML element’s attribute. For example, you can use attr() to get or set the value of the “src” attribute of an image element or the “href” attribute of a link element. It works with both standard and custom attributes.
On the other hand, we use the prop() method in jQuery to get or set the value of a property of an HTML element. Properties are the internal state of an element. For example, you can use prop() to get or set the “checked” property of a checkbox element or the “value” property of an input element.
Main difference between attr() and prop()
The main difference between attr() and prop() is that attr() deals with the HTML attributes of an element, while prop() deals with the properties of an element. In most cases, prop() is there for manipulating properties like “check”, “disable”, or “value”, while attr() is use for accessing or modifying standard or custom attributes like “src”, “href”, or “data-*”.
Let’s consider an example to better understand this. Suppose you have a checkbox element with the ID “checkId.”
If you want to check the checkbox using jQuery, you can use the prop() method like this:
<script src=”https://code.jquery.com/jquery-3.5.0.min.js”></script>
<script>
$(document).ready(function() {
$(“#checkId”).prop(“checked”, true);
});
</script>
And if you want to uncheck the checkbox, you can use the prop() method like this:
<script src=”https://code.jquery.com/jquery-3.5.0.min.js”></script>
<script>
$(document).ready(function() {
$(“#checkId”).prop(“checked”, false);
});
</script>
JavaScript is a programming language used for web development, while jQuery is a library that simplifies JavaScript coding. The attr() method is use to manipulate attributes of HTML elements, while the prop() method is use to manipulate properties.
See Also: How To Convert An Array To An Object In JavaScript? Top 6 Ways
FAQs
How to remove checkbox checked in JavaScript?
To remove the checked status of a checkbox, set its 'checked' property to false: checkbox.checked = false;
How to check if the checkbox is uncheck in JavaScript?
To check if a checkbox is unchecked, check if its 'checked' property is false: if(!checkbox.checked) { // checkbox is unchecked }
How to clear the value of the checkbox in JavaScript?
To clear the value of a checkbox, set its 'value' property to an empty string: checkbox.value = '';
What is the symbol for an unchecked checkbox?
The symbol for an unchecked checkbox is an empty box □. A checked checkbox will have a filled in box ☐. So, in JavaScript, you can determine if a checkbox is check or uncheck by checking its 'check' property value - true means check, false means uncheck (empty box symbol).
Conclusion
In this guide on how to check/uncheck a checkbox with JavaScript, we utilize the language to manipulate checkbox states on a web page. We modify the checked property by accessing the checkbox element through its ID or other selectors, toggling between true and false. This programmatic control empowers us to manage checkbox states dynamically. Shifting gears, consider formatting numbers with commas in JavaScript, seamlessly integrating user-friendly features into web interactions.

